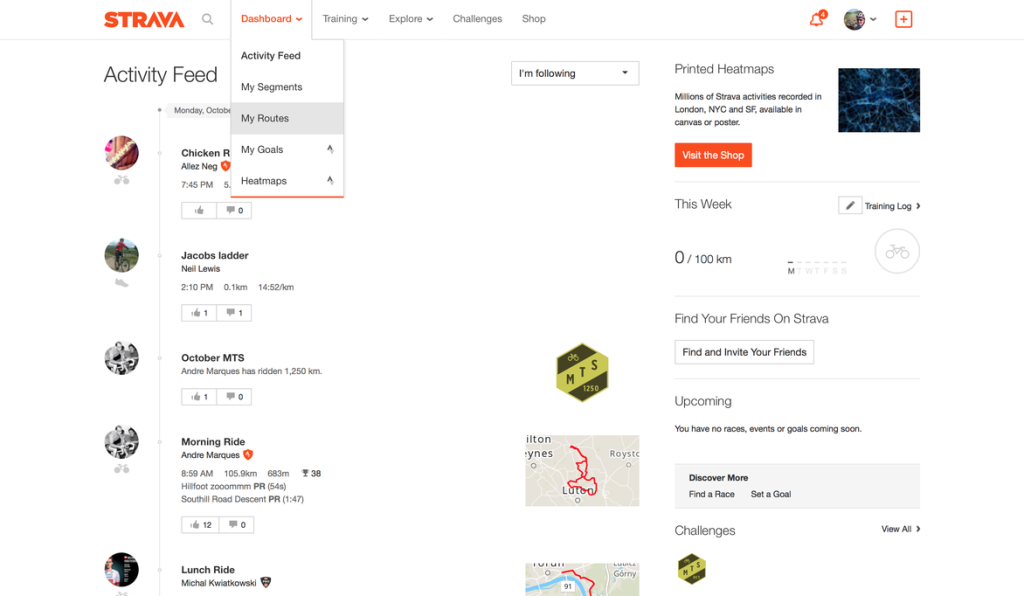
I love Strava, and one of it’s greatest features is the ability to create custom routes on the site. It uses all of that data it’s built up over the years to send you on the most cycle friendly routes it can find. It’s not bullet proof, but I find it gets it right nearly all of the time. If you’ve never done this before, here is my handy 9 step guide to creating routes in Strava, and exporting them to your GPS device. I have also put together a video of these stages which you can find at the bottom of the post.
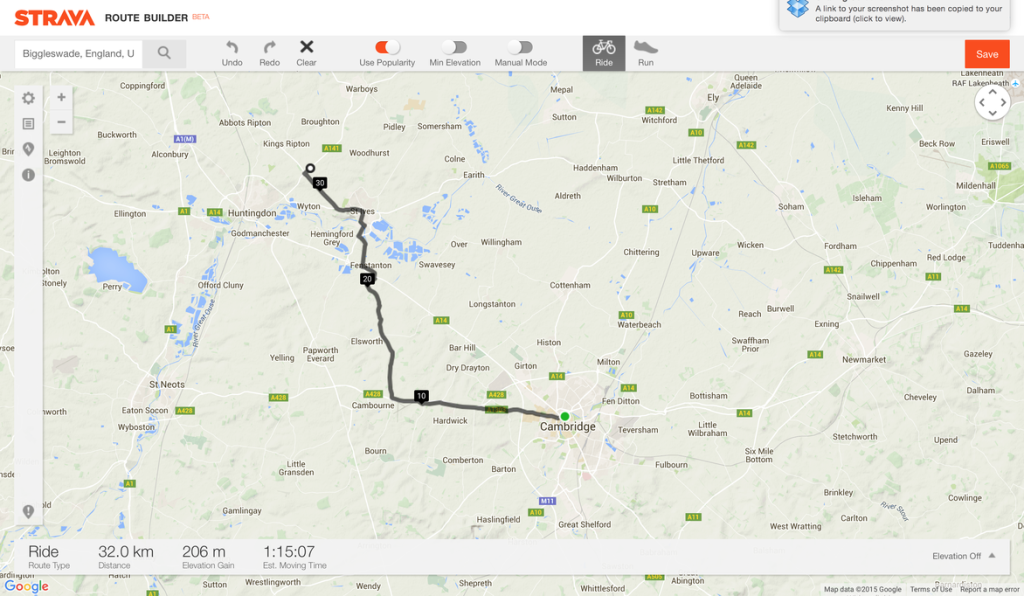
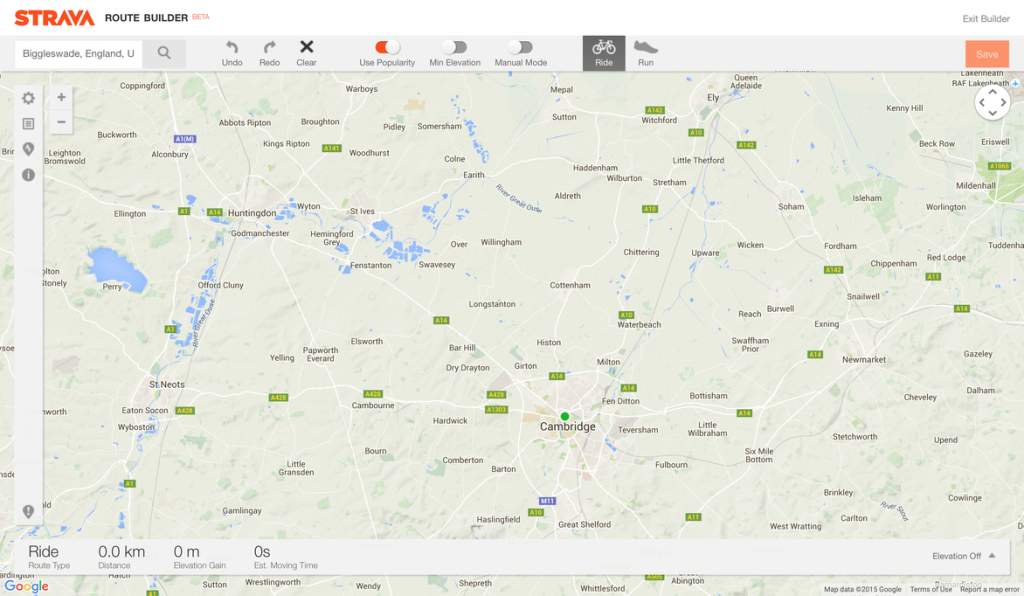
Create route by tapping on as many points across the map as you need. Make sure the ‘Use Popularity’ slider at the top is on, as this will then take you along the most popular routes for cyclists. Each point you select will appear as a black dot on the map. You can pick these up and move them around after they are created, or use the undo button in the top menu to remove them.
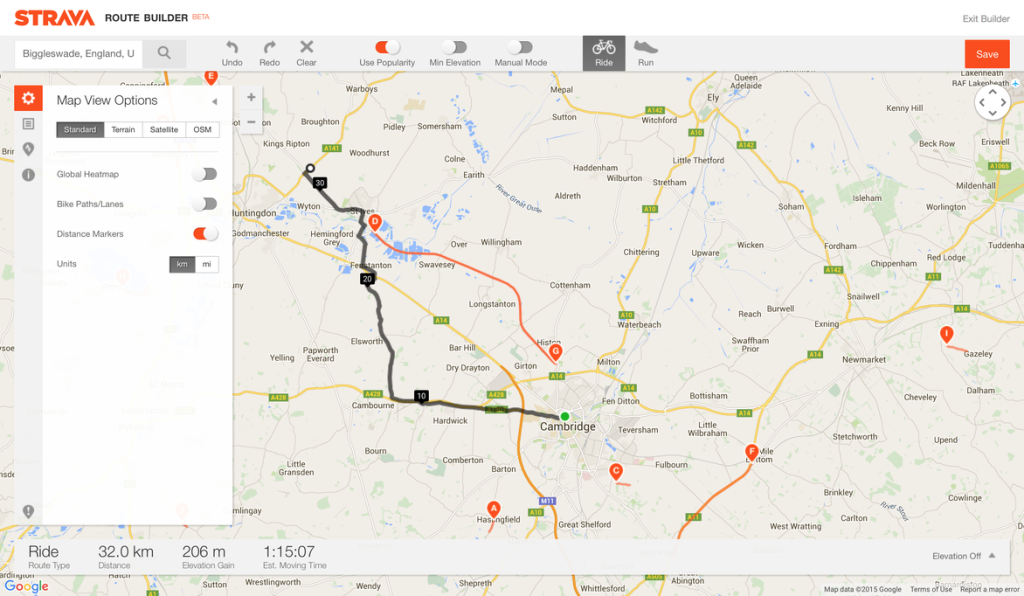
You can further change your ride by opening up the Strava options menu on the left hand side. You can choose which units you would like displayed, whether to have distance markers, if you want Strava to take you down bike paths, or to superimpose a global heat map of the most popular routes over your map to help you decide on where to go.
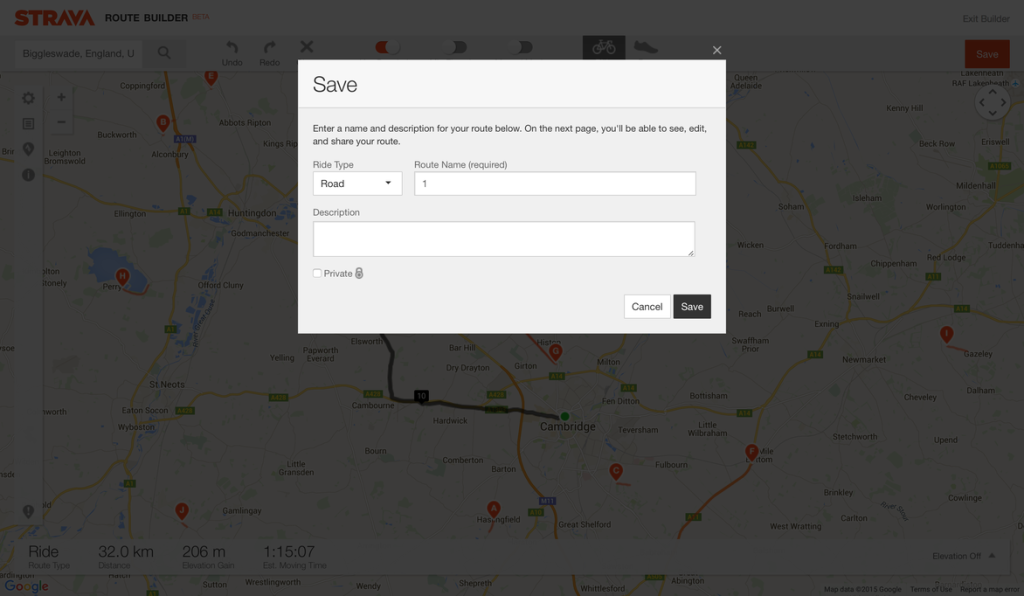
When you are done creating your route, hit the orange ‘Save’ button in the top right hand corner. This will bring up a pop up box allowing you to name the route and add a description. If you select the ‘Private’ check box in the bottom left hand corner this will mean only you can see it. If not it will appear on your Strava feed for all to see.
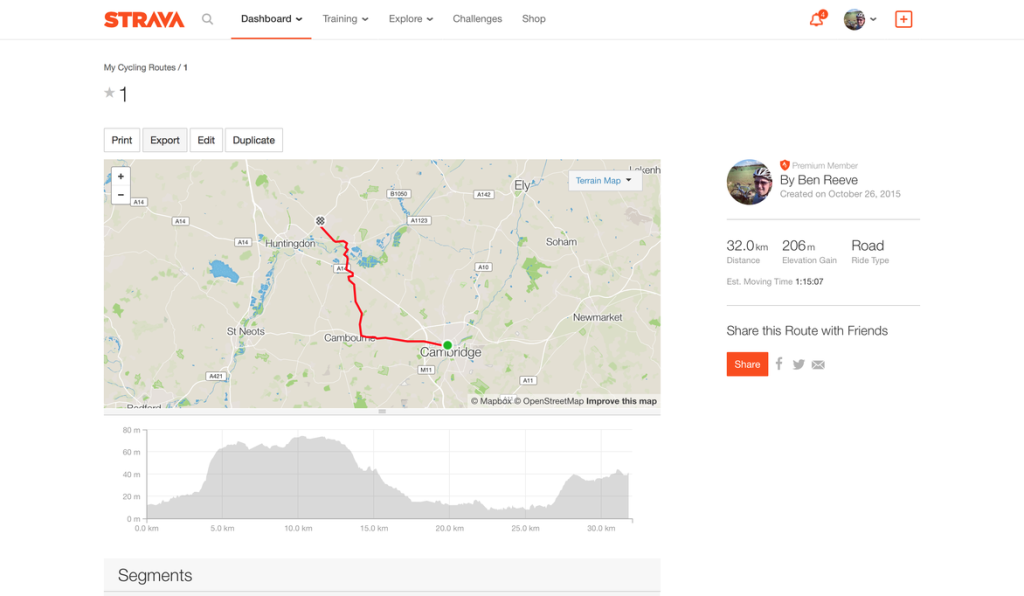
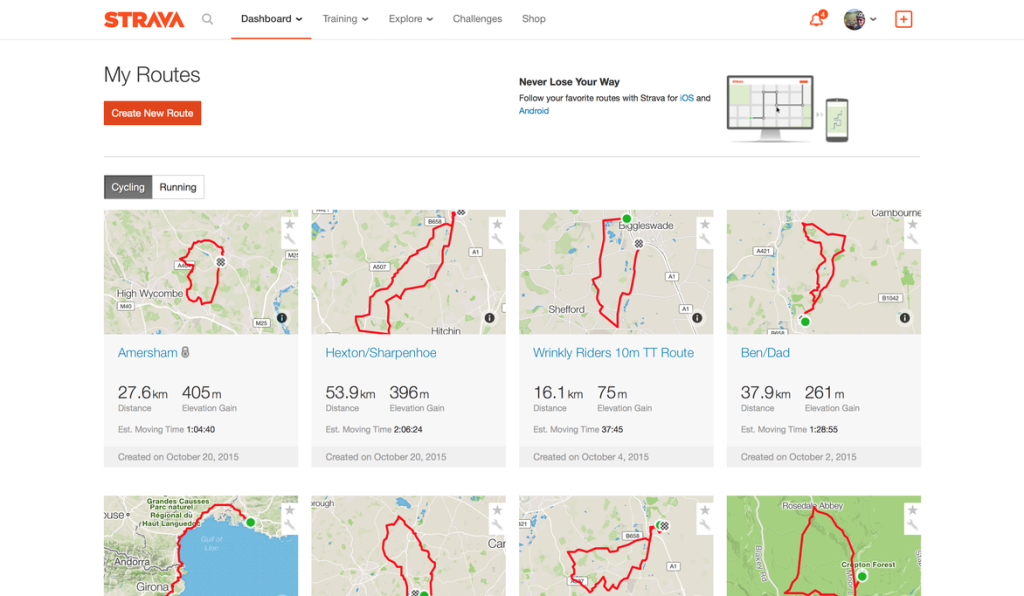
Now the route is saved, you can view it under the ‘My Routes’ tab. It will show you additional information such as the elevation profile underneath. If you want to transfer the route onto your GPS device, hit the ‘Export’ button above the map.
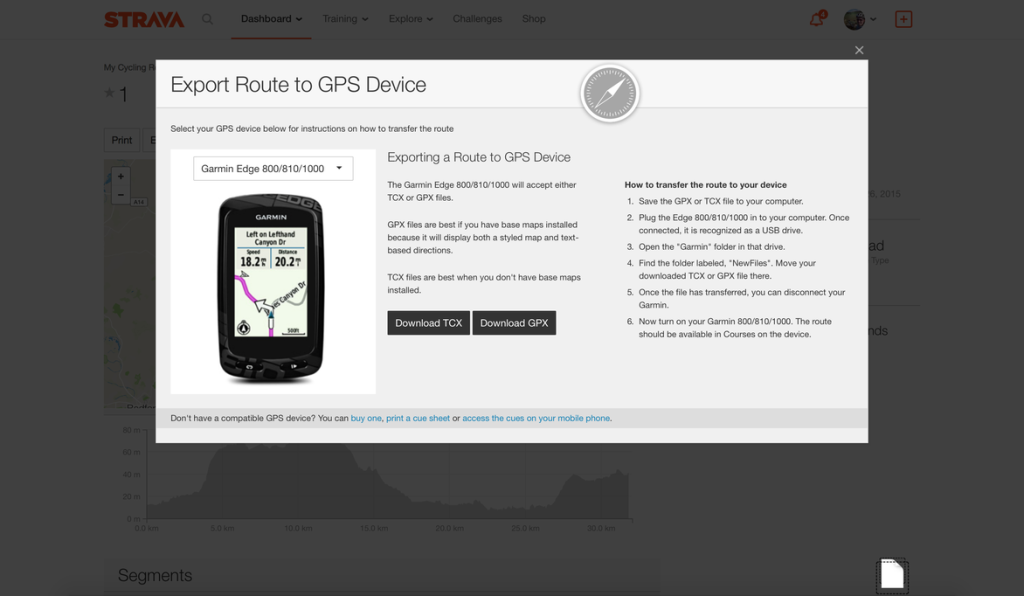
This pop up screen is the one that appears after you select ‘Export’ on the route page. Strava gives you a choice between downloading a TPX or GPX file. I have always used GPX. My understanding is that TPX files are best of when you don’t have maps installed on your GPS device and are just using ‘breadcrumb’ navigation, as they contain cue sheet information. I use a Garmin 810 with maps installed, so GPX files have always been fine for me.
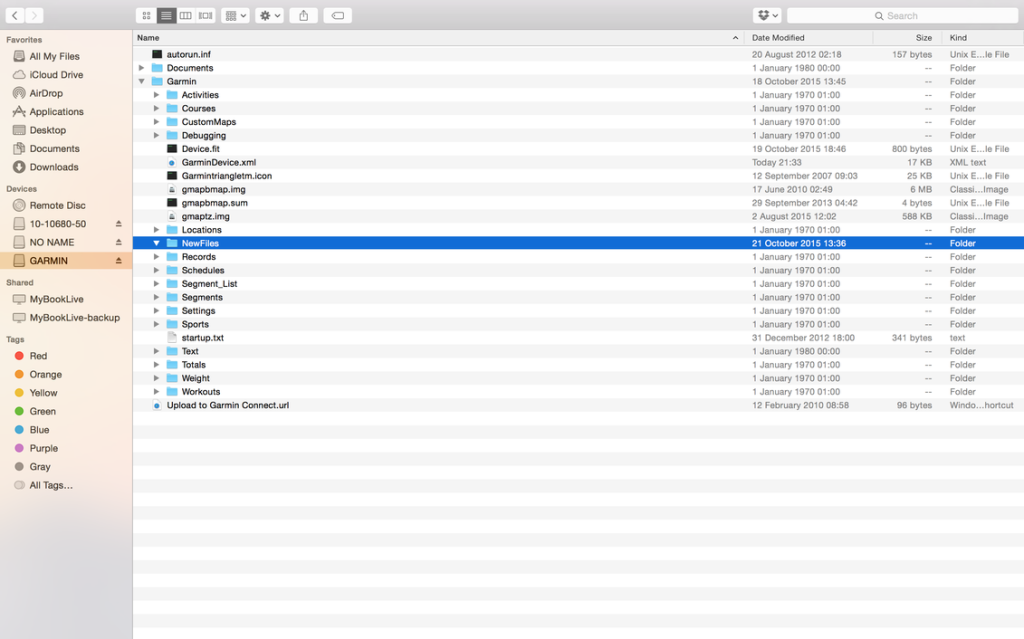
Finally, drag and drop the GPX files from your ‘Downloads’ file into the ‘New Files’ folder within your Garmin. This is relevant to Garmin users only, and may differ if you use a GPS device by another company.
