For most people, replacing a bicycle chain is a lot like getting the boiler serviced; you don’t bother until it’s too late and then it ends up costing far more than it should have. This isn’t to pass judgement, as I put myself firmly in that camp, too. Sure, you may not care about performance, you may not be worried about the occasional gear slip, but we all care about a bit of extra money in our pockets.
Buying my first ‘decent quality’ (read: pretty expensive) bike, a Cannondale CAAD8, was when I realised I needed to replace my chain more regularly. I took it in for its first service after six months only to be told I needed to pay not just for a new chain but a new rear cassette, too. The mechanic explained that I could have got as much as five times the life out of the cassette just by switching the chain over more often, saving me money in the long run.
My lesson here was the more expensive the bike, the more expensive the components. Whilst the positives of having this new bike were amazing it was clear I was going to have to do a bit more to look after it.
WHY DOES A BICYCLE CHAIN STRETCH?
On a very simple level, a chain stretches when it ages. I’m not going to cover what happens to the inner workings of a chain but if you love getting into the detail then this article by Sheldon Brown will tell you all you could ever want to know, and then some.
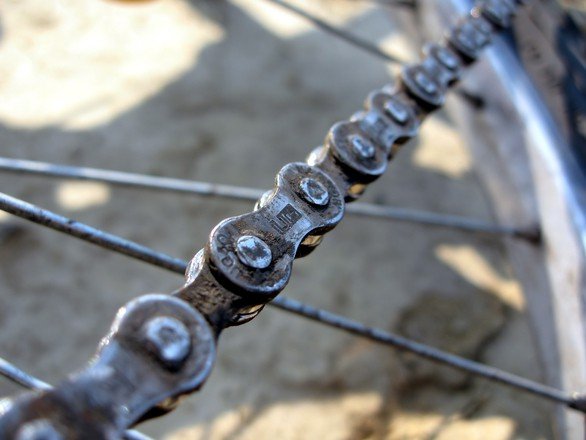
At the point a chain stretches, it no longer fits properly into the teeth of the rear cassette and chainring. This means it then starts wearing away the cogs. When you see the teeth looking like waves on the sea rather than straight up mountains you know this has started to happen. After a while, the teeth can no longer hold the chain in place so it starts to slip either when changing gear or when you put a lot of power down.
By this point you’ve done so much damage to the cassette and sometimes even the chainring that a new chain won’t fit as the teeth are now trying to accommodate a chain that has stretched.

You can see on the comparison how the top, older chain has stretched out compared to the bottom, newer chain.
WHEN TO REPLACE A BICYCLE CHAIN
In some instances it’s not actually worth changing your bicycle chain, for example if you’re riding a cheaper bike with cheaper components then a cassette may cost very little. So you may actually be better off leaving the chain on for longer and getting maximum wear out of it. When it starts to slip then you can replace the chain and cassette together. For more expensive bikes, this is definitely not the case. Unsure what bracket you fall into? Let’s look at the maths.
I’ll use Shimano groupsets as an example. At one end of the scale you have the Claris groupset, for which a new rear cassette would set you back around £20. At the other end is the Dura Ace, for which a cassette costs around £150.
Here you can see how the costs can really stack up. Fail to replace the chain on a Dura Ace groupset and you could be looking at £150 plus a new chain at a service. If you regularly replace a chain it will cost you £20 or so (I use the KMC X11-93), but you’ll get 3-5 times more use out of the cassette and are postponing a much bigger cost.
Some people will tell you they replace their chain once every ‘x’ miles or ‘x’ number of months. Good on them, but this is not really based on any science, as there are so many variables that wear a chain, for example humidity, maintenance, riding style and even the number of gear changes you make.
If you’re serious about keeping your bicycle chain in good order, then a chain wear indicator is an excellent addition to your toolbox. Without being able to actually measure the wear, you’ll either be throwing money away by changing it too frequently or leaving it on too long causing potentially expensive damage to other parts of your bike. I use the following theory to judge when to replace a bike chain:
- When the wear hits 0.5% then order a new chain
- When the wear hits 0.75% then replace the chain
HOW DO I USE A CHAIN WEAR INDICATOR?
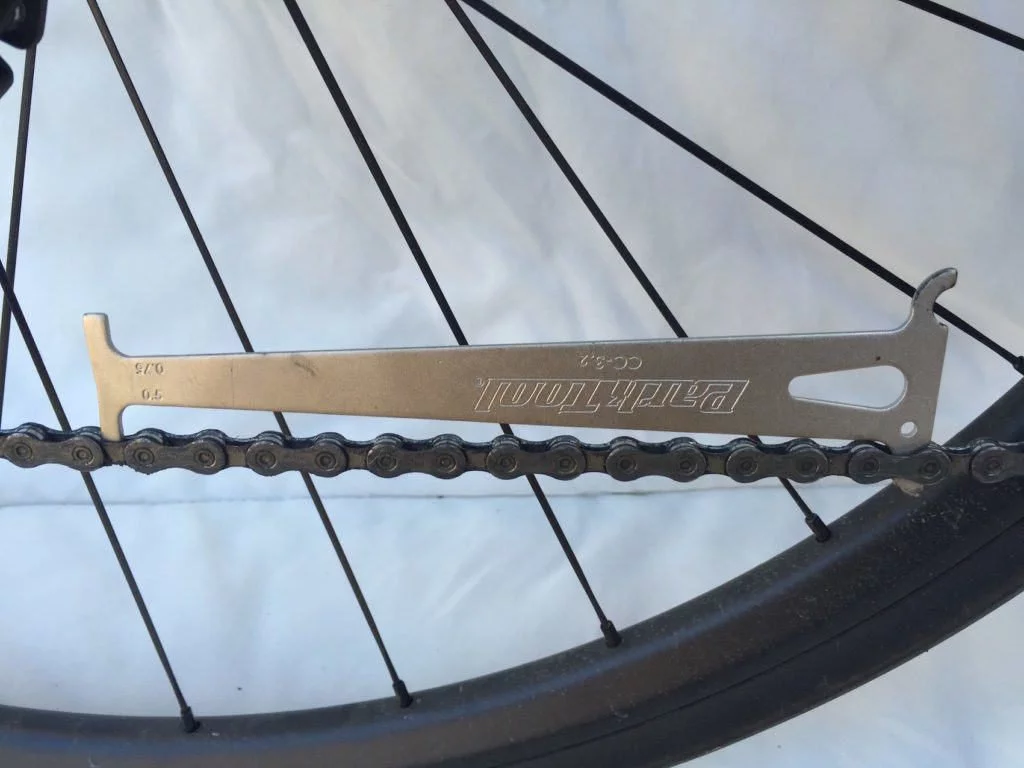
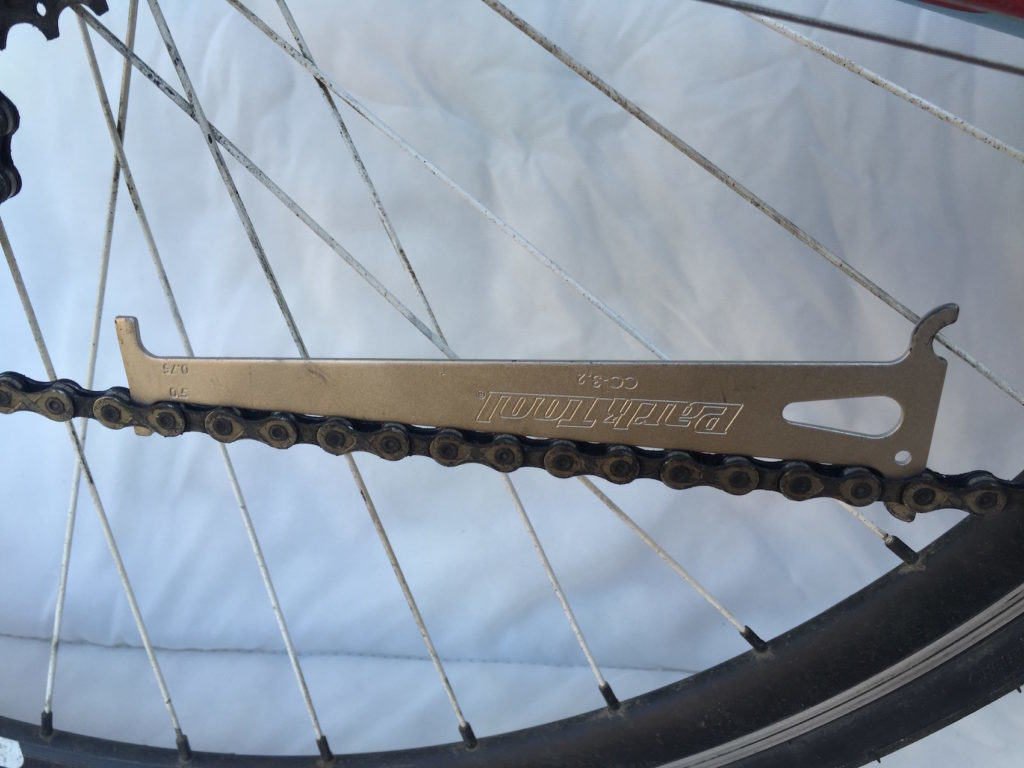
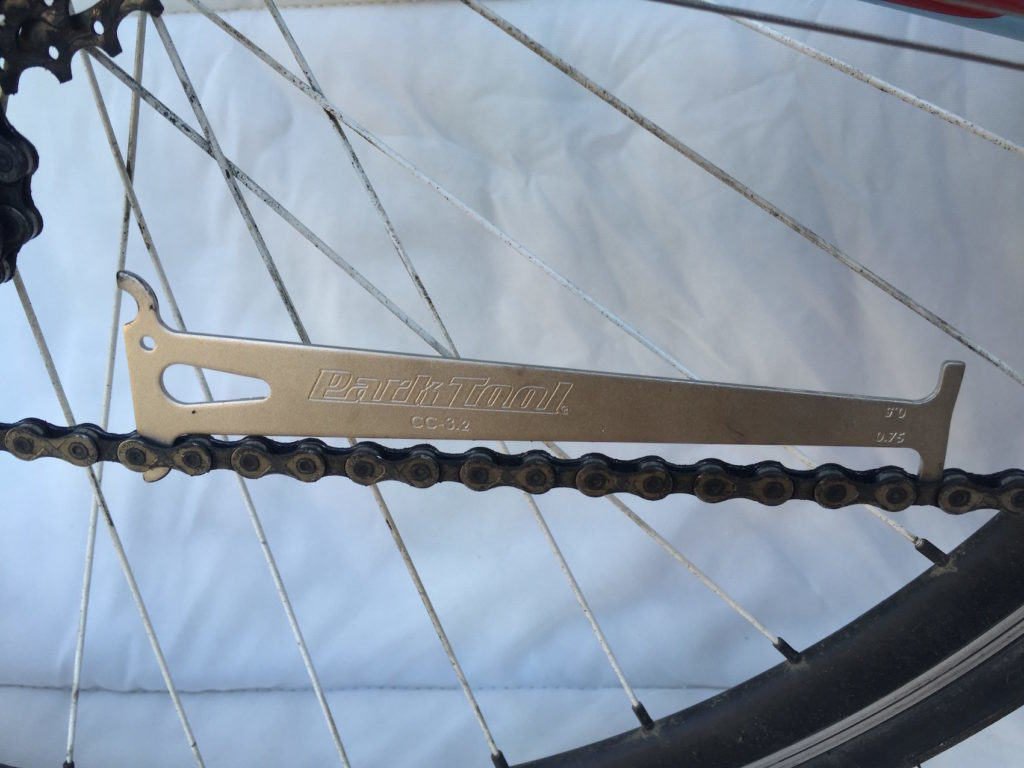
The two sides of the tool are sized differently – one to show you when the chain is worn by 0.5% and the other by 0.75%. Alternatively, you could just use a ruler. You could also use a ruler.
On this first bike, the chain hasn’t been used for very long. The wear indicator is almost slotting in on the 0.5% mark. Whilst this bike is the newer of the two I have been riding in for a couple of months, so you can see that the chain has already stretched as the indicator almost slots in on the left, but is still fine to use.

Next up a chain with a little more use. You can see the indicator slots straight into the chain meaning this chain has hit 0.5% wear. At this point I would order a new chain and keep an eye on it.

This older chain is even further stretched, almost to 0.75%. The indicator is right on the edge of dropping in so I’ll be changing this over to a new chain very soon.

Across three packages, we provide Bicycle Insurance for your equipment when riding, racing or training worldwide.